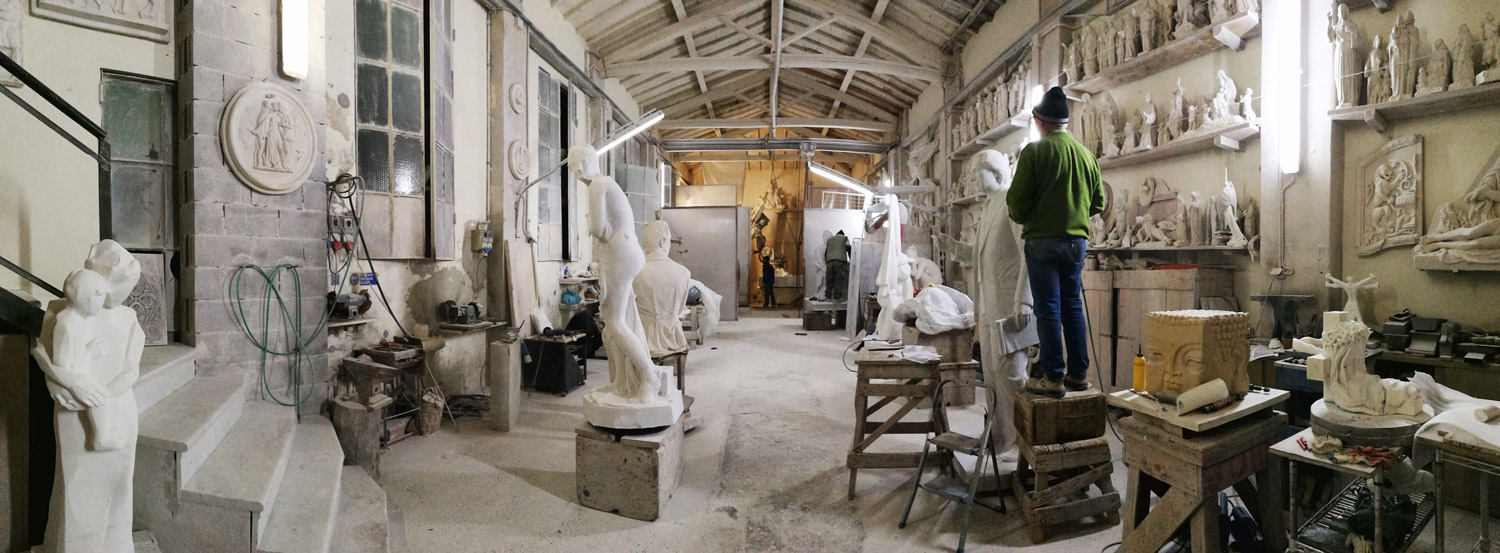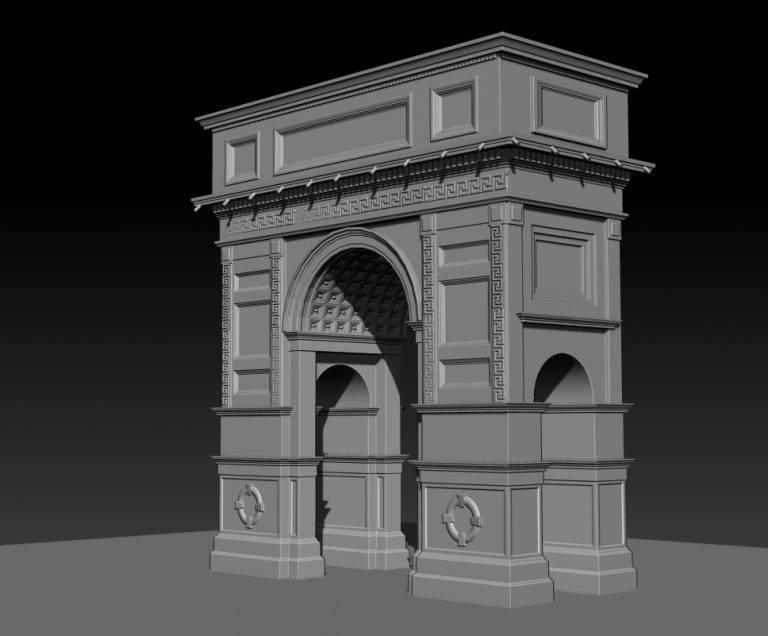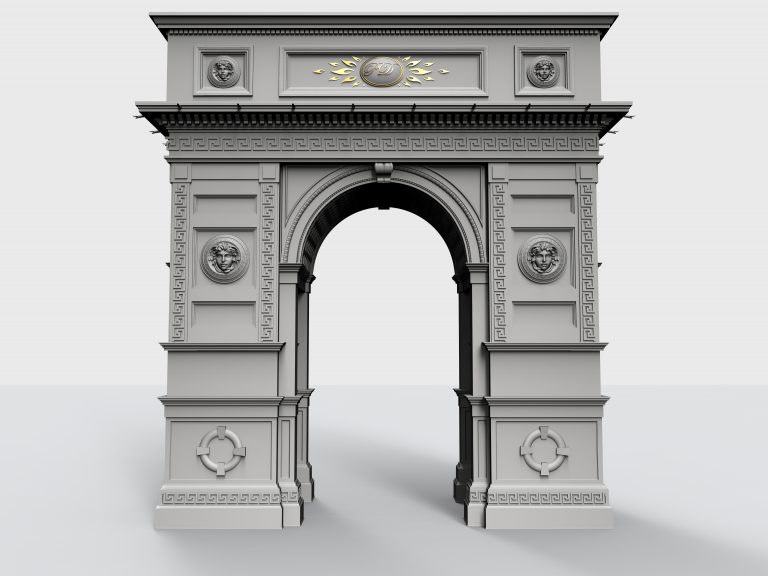

The structured-light 3D scanner uses the projection of a light grid on the surface of the object for its operation. The deformation of the pattern induced by the surface of the object is then acquired through a television camera and exploited for the calculation of the three-dimensional coordinates. From the triangulation of the “illuminated” points a cloud of points follows, which is transformed into a mesh (digital surface). In the sculpture field, a digital model is used to extrapolate from the sketch.
Today, thanks to 3D scanning, we are able to create extremely accurate Documentation and Digital Contents of mechanical components, molds or assemblies of any shape, material and reflectance. With the use of these sophisticated non-contact three-dimensional survey technologies, a physical object is digitized (3D scanning), obtaining a dense point cloud representative of the object itself, with a precision of approximately 25 microns. The data thus obtained are subsequently processed with filtering, alignment and polygonalization operations to obtain a Mesh (typically in .stl, .obj format) which can be considered a real “Digital Twin” of the starting object and which can be used in various fields and applications:

Thanks to the three-dimensional models, it is even possible to simulate photorealistic scenes where you can opt for the best aesthetic solutions. Today, the great quality of the rendered images allows the final customer to easily understand which are the best materials, in terms of volumes but also in colors and type of finishes, depending on the light and the environment that surrounds them.
